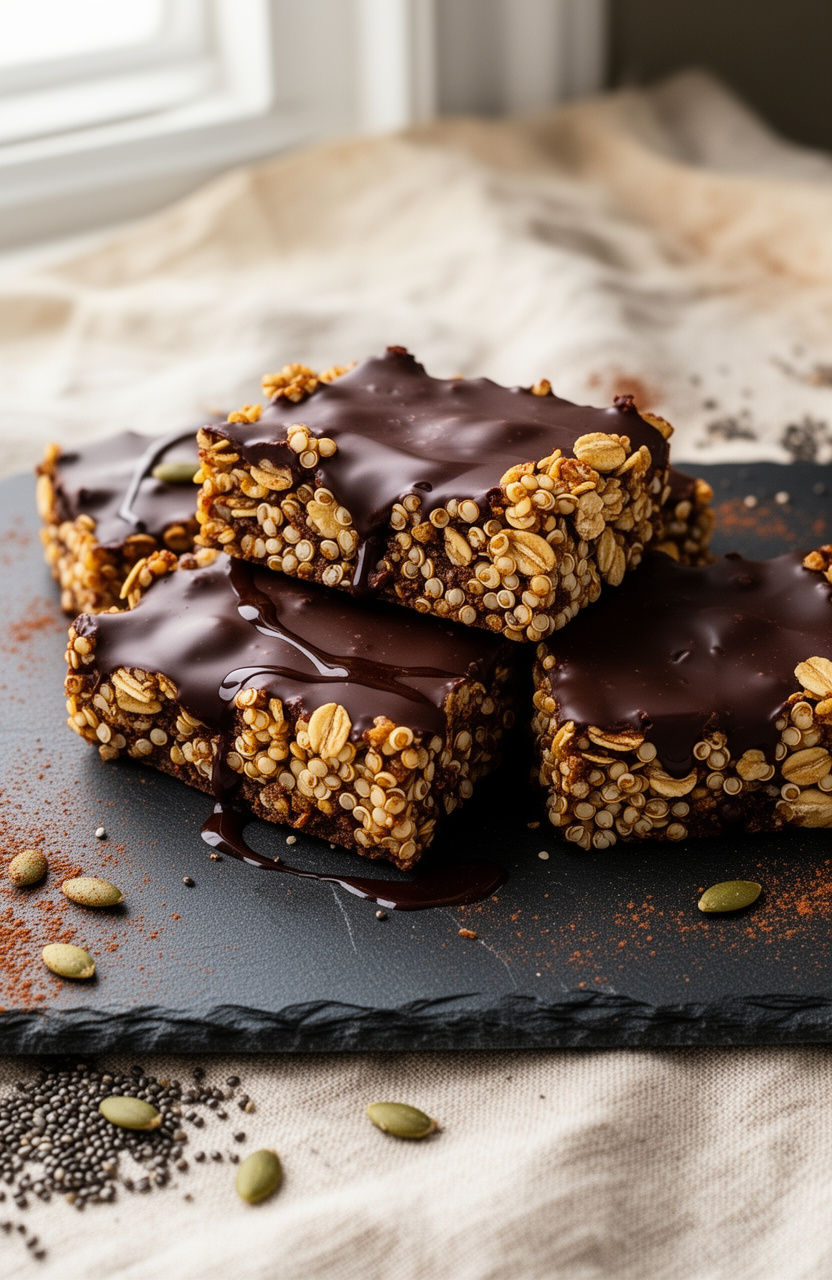
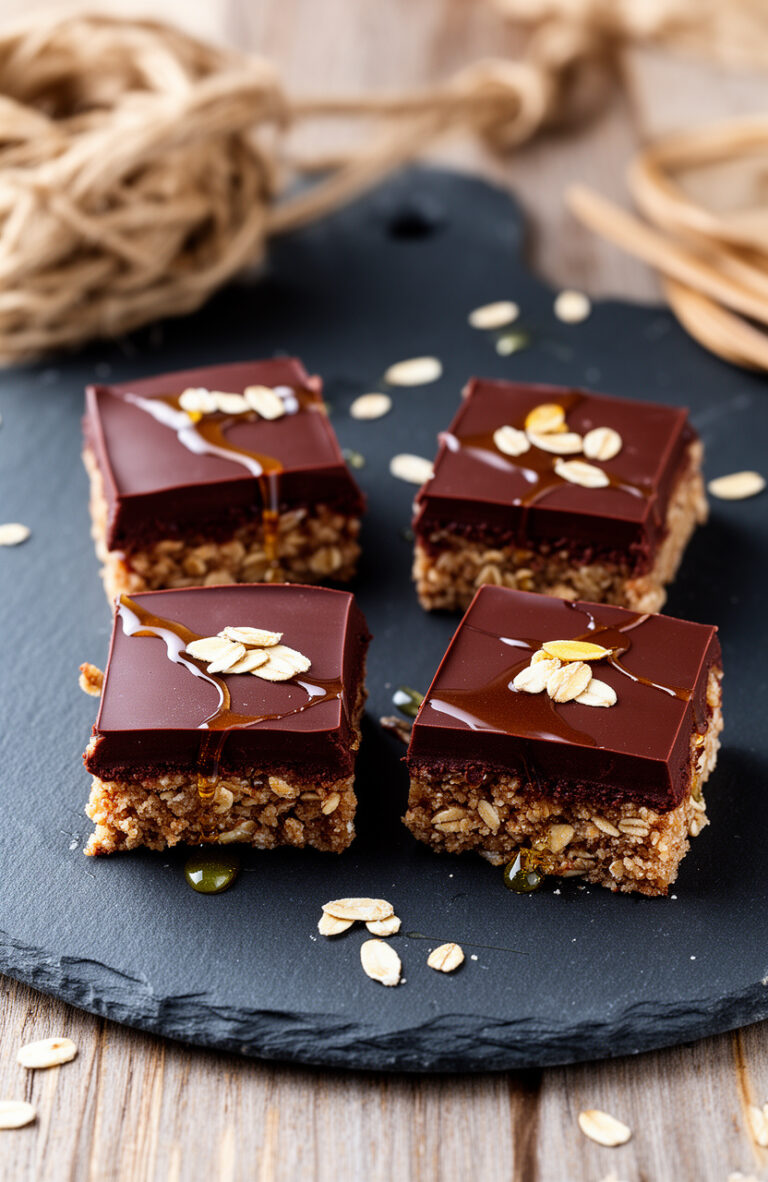
My kids started rejecting every store granola bar around the same time, which meant I was suddenly in the business of making my own.
These bars solved it. The quinoa puffs up into something almost popcorn-like, the chocolate sets firm, and I can make a full batch on a Sunday night in under 20 minutes of real work.
Healthy Chocolate Quinoa Crunch Bars
Toasted quinoa and dark chocolate packed into a bar that actually holds together and tastes like a treat.
4.7(27 reviews)
Gluten-freeVegetarian
Prep15 min
Cook10 min
Chill time1 hr
Total1 hr 25 min
Serves12 bars
Ingredients
1 cup uncooked white quinoa , rinsed and completely dried
2 tbsp coconut oil , divided
1.5 cups rolled oats , certified gluten-free if needed
0.5 cup natural almond butter , runny, not stiff
0.33 cup honey , or pure maple syrup
1 tsp pure vanilla extract
0.25 tsp fine sea salt
0.5 cup dark chocolate chips , 70% cacao or higher
2 tbsp unsweetened cocoa powder
0.25 cup pepitas , raw or toasted
2 tbsp chia seeds
Instructions
1
Heat a dry medium skillet over medium-high heat for 90 seconds. Add the dried quinoa in a single layer. It will begin popping and jumping in the pan at about the 2-minute mark, smelling nutty and faintly sweet. Stir constantly for 3 to 4 minutes total until the grains are golden and the popping slows. Pour into a large mixing bowl immediately so they stop cooking.
2
Add the rolled oats, pepitas, chia seeds, and cocoa powder to the bowl with the toasted quinoa. Stir until the cocoa powder coats everything evenly and the mixture looks uniformly brown with no white streaks.
3
In a small saucepan over low heat, combine the almond butter, honey, 1 tablespoon of the coconut oil, and the sea salt. Stir for 2 to 3 minutes until the mixture is glossy, fluid, and smells like warm caramel. Do not let it bubble. Remove from heat and stir in the vanilla extract.
4
Pour the warm almond butter mixture over the dry ingredients. Stir immediately and firmly for about 60 seconds. The mixture should feel heavy and sticky and hold its shape when you press a clump between your fingers. If it feels dry, add honey one teaspoon at a time.
5
Line an 8x8 inch baking pan with parchment paper, leaving overhang on two sides. Transfer the mixture into the pan and press it down hard and evenly using the flat bottom of a measuring cup. Press the edges especially firm or they will crumble when cut.
6
In a small microwave-safe bowl, combine the chocolate chips and remaining 1 tablespoon coconut oil. Microwave in 20-second intervals, stirring between each, until fully melted and smooth, about 60 to 80 seconds total. It should smell deeply of chocolate and pour like thin cream.
7
Pour the melted chocolate over the pressed bar mixture and spread it to the edges with a spatula. Tap the pan gently on the counter twice to settle the chocolate into an even layer.
8
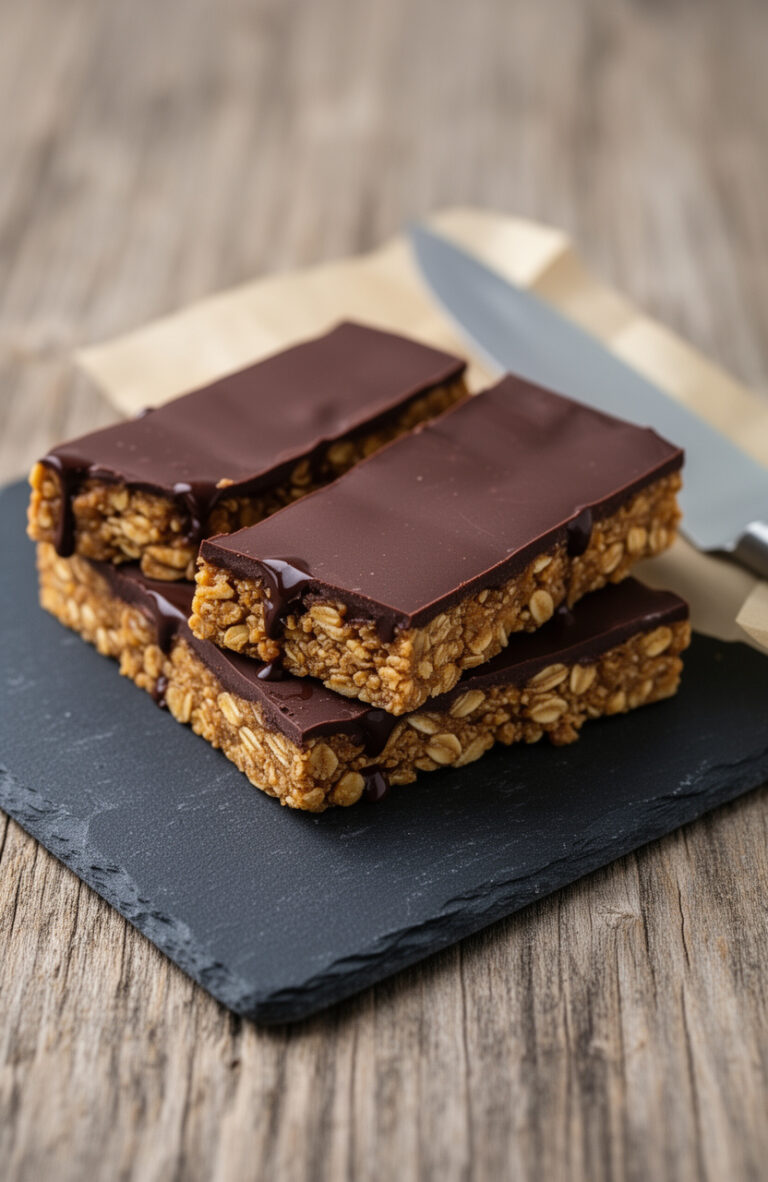
Refrigerate uncovered for 60 minutes until the chocolate is fully set and hard to the touch. Lift out using the parchment overhang and cut into 12 bars with a sharp knife. Wipe the blade between cuts for clean edges.
Tips & Notes
The quinoa must be completely dry before toasting or it will steam instead of pop. Spread it on a clean towel for 30 minutes after rinsing.
Almond butter varies a lot by brand. If yours is thick and paste-like from the fridge, measure it after warming it for 15 seconds in the microwave.
A bench scraper gives cleaner cuts than most kitchen knives on these bars.
Storage: Store in an airtight container in the refrigerator for up to 10 days. Bars can be frozen individually wrapped for up to 2 months. Let a frozen bar sit at room temperature for 10 minutes before eating.
Most quinoa bar recipes skip the toasting step and the result is gummy and dense. When you toast quinoa dry in a skillet, the grains turn hollow and crunchy, closer to a puffed grain than a cooked one.
That texture is the reason this recipe is worth making twice. The bars have actual crunch without nuts, which matters when you're packing snacks for a school with an allergy policy.
Free Newsletter
Get our best ideas, free.
Join GoEnthusiast and get our newest guides, tips and finds delivered once a week. No spam, no fluff. Unsubscribe in one click.
One short email a week
Exclusive tips we don't publish
Free to join, free to leave
We respect your privacy. Unsubscribe anytime.
✓
You're on the list!
Check your inbox and click the confirmation link to finish.
Getting the Chocolate Layer to Actually Set
The coconut oil in the chocolate layer is not optional. It lowers the melting point of the chocolate so the layer sets glossy and snaps cleanly instead of staying tacky or soft.
If your kitchen runs warm, the full 60 minutes of chill time matters. Pull bars straight from the refrigerator to cut them, then let individual bars come to room temperature before serving.
Jump to Recipe My kids started raiding my post-workout snacks, which told me everything I needed to know about these bars. I’ve cycled through six versions of this recipe. This one uses the right fat-to-dry ratio so the bars slice clean without crumbling, and the dark chocolate top sets firm enough to stack. Why the…
Jump to Recipe My youngest went through a phase where he refused anything that looked like dessert for breakfast, so I started calling this chocolate pudding and serving it in a juice glass. He eats two. This one earns a permanent spot because the active work is 10 minutes, the ingredients cost almost nothing, and…
Jump to Recipe My kids can smell peanut butter and chocolate from two rooms away, and these bars have ended more than one after-school argument about snacks. No oven, no candy thermometer, no drama. You melt, stir, press, and wait 120 minutes. That is the whole deal. Why Maple Syrup Instead of Corn Syrup Most…
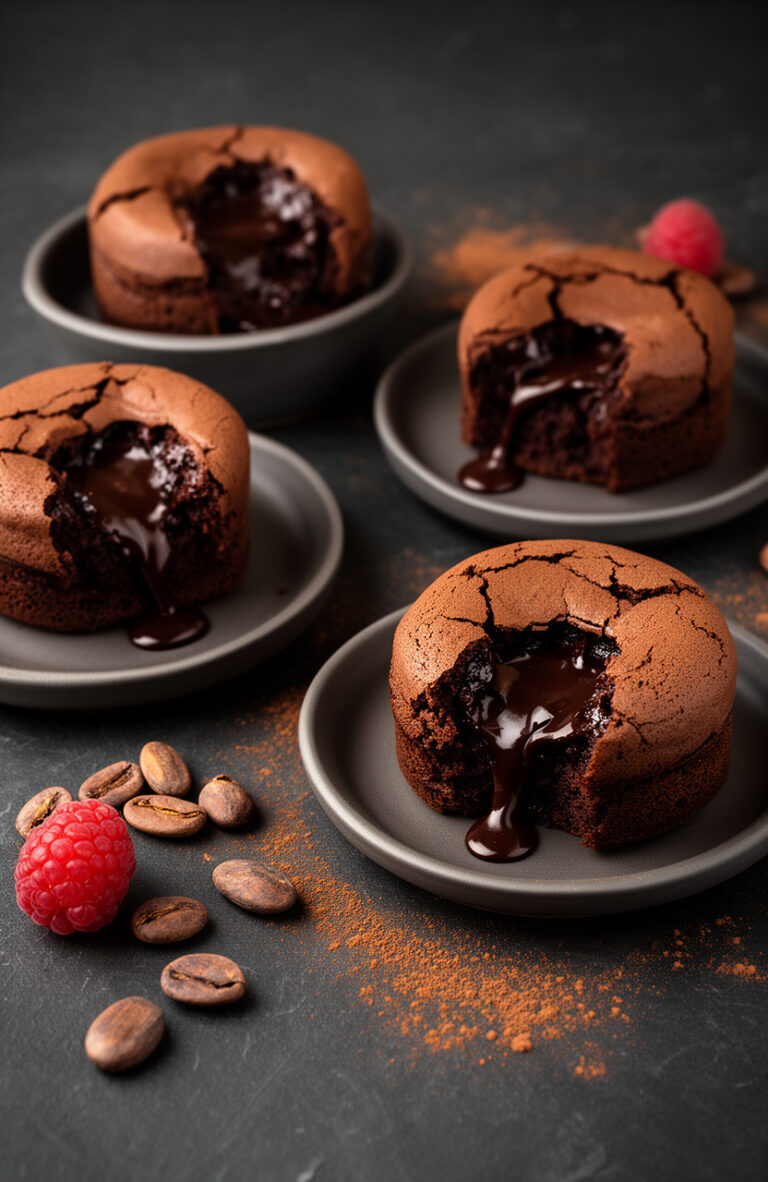
Jump to Recipe My daughter has a gluten sensitivity and still deserves a birthday dessert that makes people ask for the recipe. This one uses rice flour and a short freeze step that takes the guesswork out of the runny center, which is the part that ruins most lava cakes. Why the Frozen Center Actually…
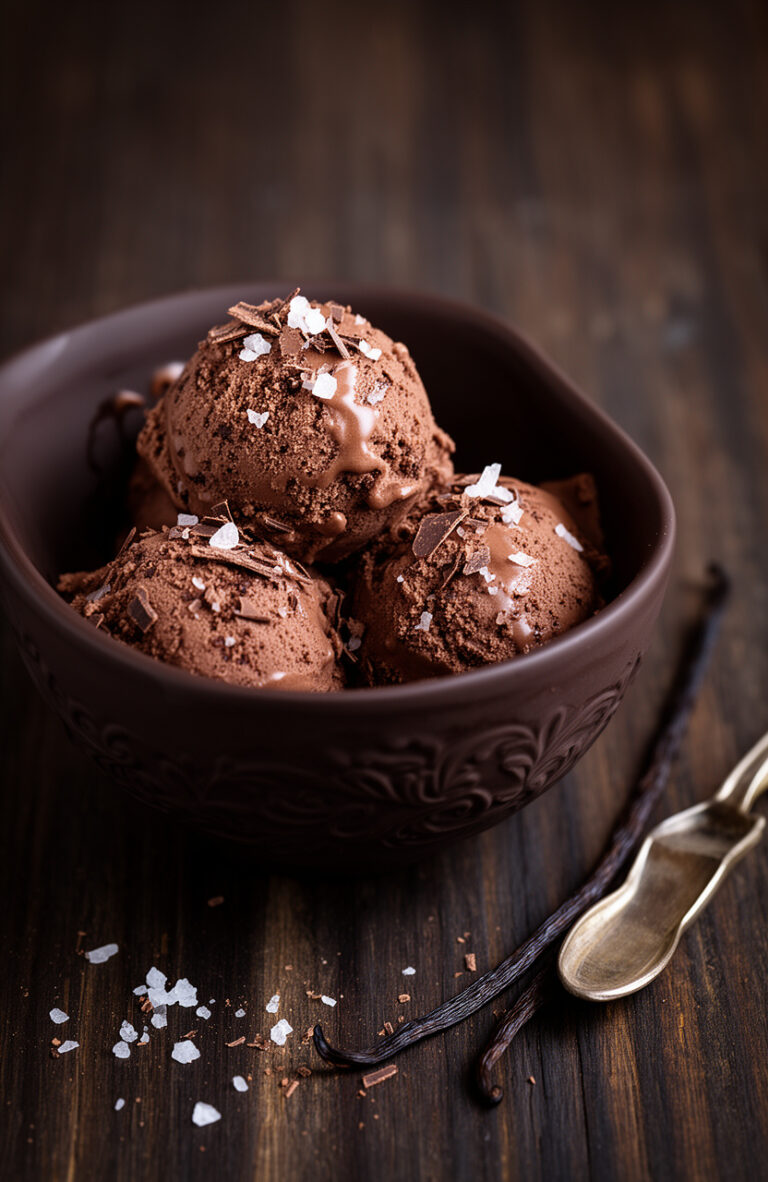
Jump to Recipe My youngest is lactose intolerant, and after three failed attempts with watery coconut bases, this is the version I actually keep in the freezer. Full-fat coconut milk and a short stovetop cook are what make it work. The texture holds overnight, and the chocolate flavor is deep enough that nobody asks what’s…
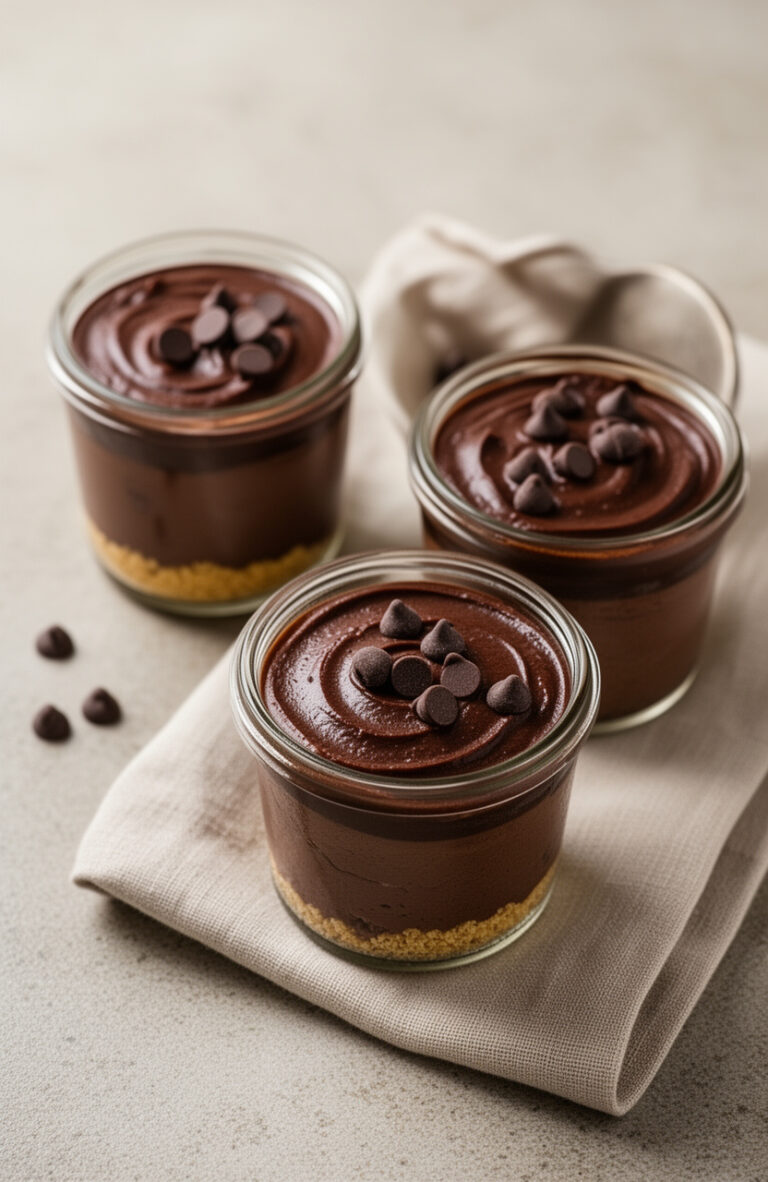
Jump to Recipe My kids asked for cheesecake on a Tuesday night and I had exactly zero time to bake anything. These cups came out of that constraint and they have been in our fridge rotation every week since. The yogurt does the heavy lifting here. Full-fat Greek yogurt gives you that dense, tangy cheesecake…