Healthy Greek Yogurt Chocolate Cheesecake Cups
My kids asked for cheesecake on a Tuesday night and I had exactly zero time to bake anything. These cups came out of that constraint and they have been in our fridge rotation every week since.
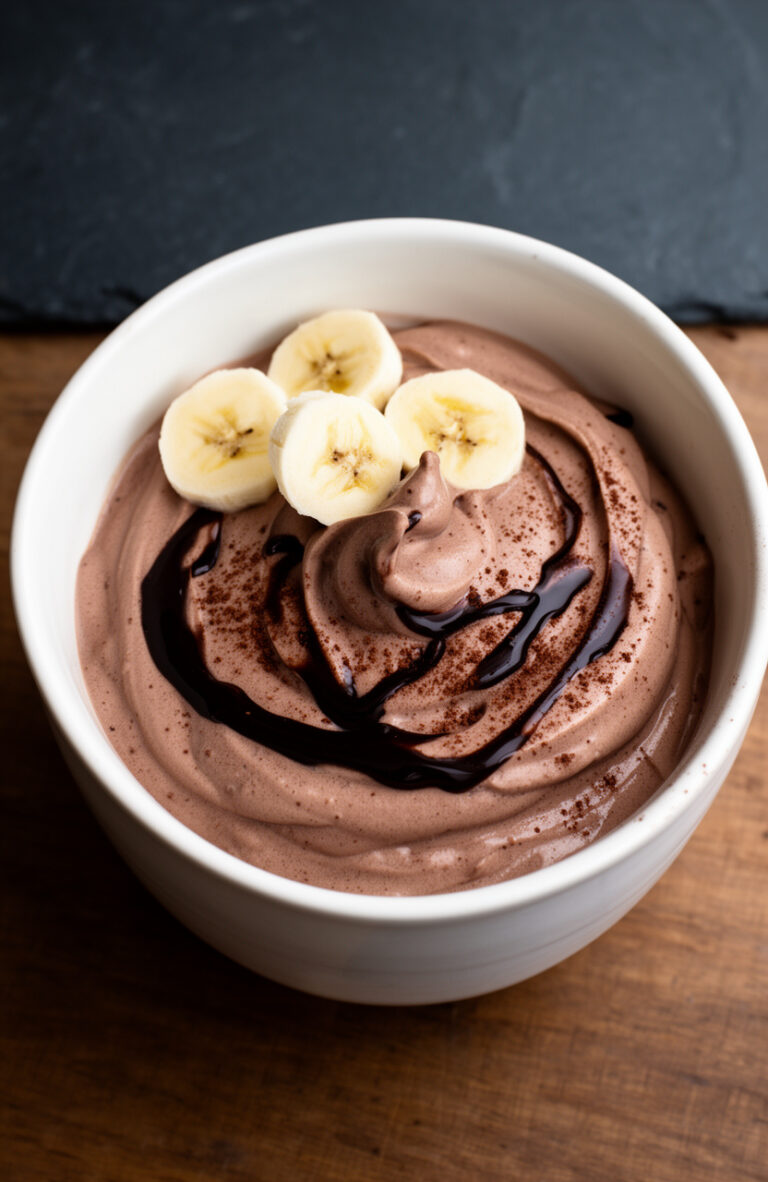
The yogurt does the heavy lifting here. Full-fat Greek yogurt gives you that dense, tangy cheesecake texture without cream cheese, and the cocoa powder blooms into something that smells like a proper dessert the second it hits the bowl.
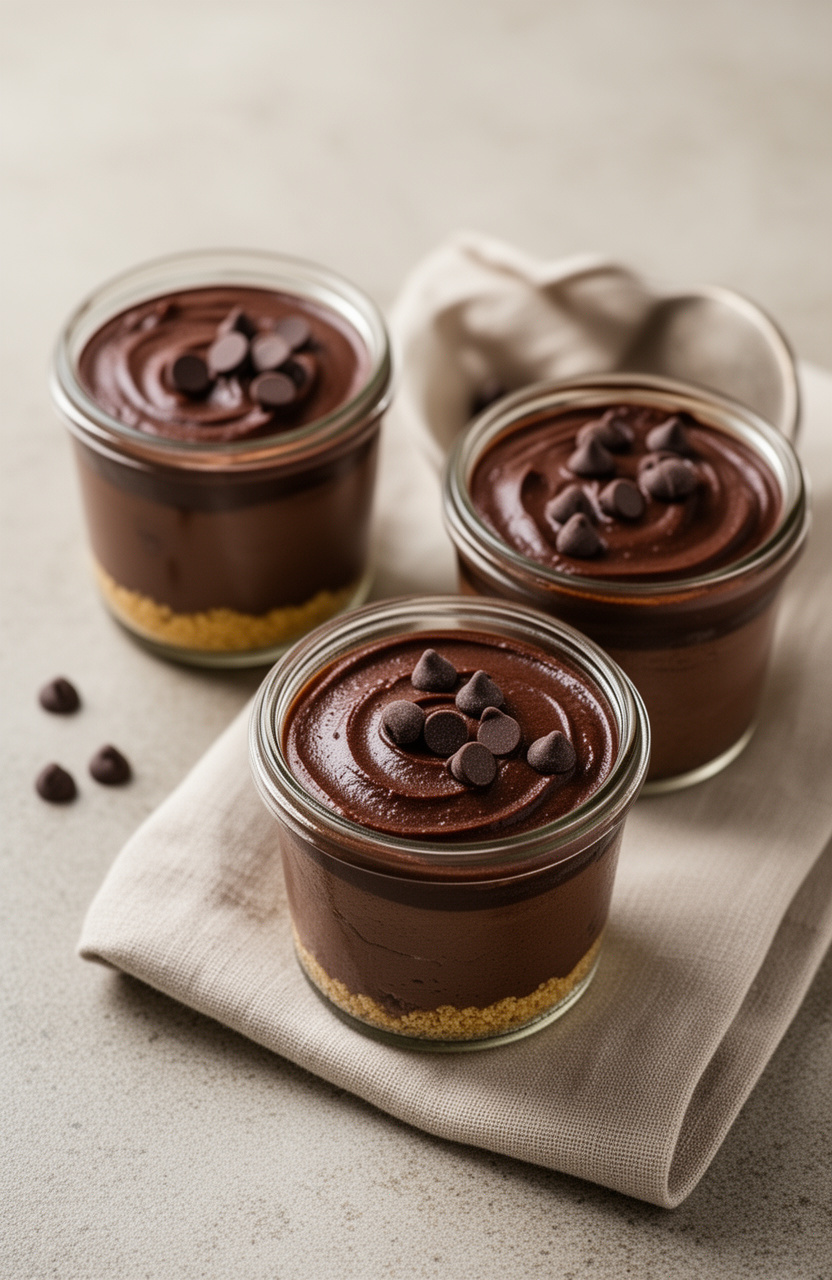
Healthy Greek Yogurt Chocolate Cheesecake Cups
Creamy chocolate cheesecake flavor without the oven, built around Greek yogurt and real cocoa.
Ingredients
- 2 cups full-fat plain Greek yogurt
- 3 tbsp unsweetened cocoa powder
- 3 tbsp pure maple syrup , adjust to taste
- 1 tsp pure vanilla extract
- 2 oz cream cheese , softened, room temperature
- 1 pinch fine sea salt
- 4 tbsp crushed graham crackers , optional crust base
- 2 tbsp mini dark chocolate chips , for topping
Instructions
Tips & Notes
- Full-fat yogurt is not negotiable if you want the cheesecake texture. Low-fat versions turn watery after chilling and the whole thing tastes thin.
- Dutch-process cocoa gives you a darker, smoother chocolate flavor than natural cocoa. Either works but Dutch-process is worth it here.
- These can chill overnight. After 8 hours the texture is noticeably denser and the flavor is deeper.
- If the finished mixture tastes flat, the salt is usually the fix. Add a second small pinch before you fill the cups.
Nutrition per serving · estimated

Why Greek Yogurt Works Here
Greek yogurt has enough protein and fat structure to mimic the density of a cream cheese filling when it is properly chilled. The small amount of cream cheese in this recipe bridges the gap, adding richness and that slightly savory note that makes cheesecake taste like cheesecake and not just chocolate mousse.
The tangy flavor you get from the yogurt is doing real work. It cuts through the cocoa and maple syrup so the dessert does not taste one-dimensional or overly sweet.
Making These Ahead for the Week
I mix a double batch on Sunday and portion them into small mason jars. By Monday night they are perfectly set and my kids pull them straight from the fridge without asking me to make anything.
The 120-minute chill time is the minimum. If you can give them 4 to 6 hours the texture improves enough that it is worth planning ahead. The graham cracker base softens slightly overnight, which most people prefer.