My kids can smell peanut butter and chocolate from two rooms away, and these bars have ended more than one after-school argument about snacks.
No oven, no candy thermometer, no drama. You melt, stir, press, and wait 120 minutes. That is the whole deal.
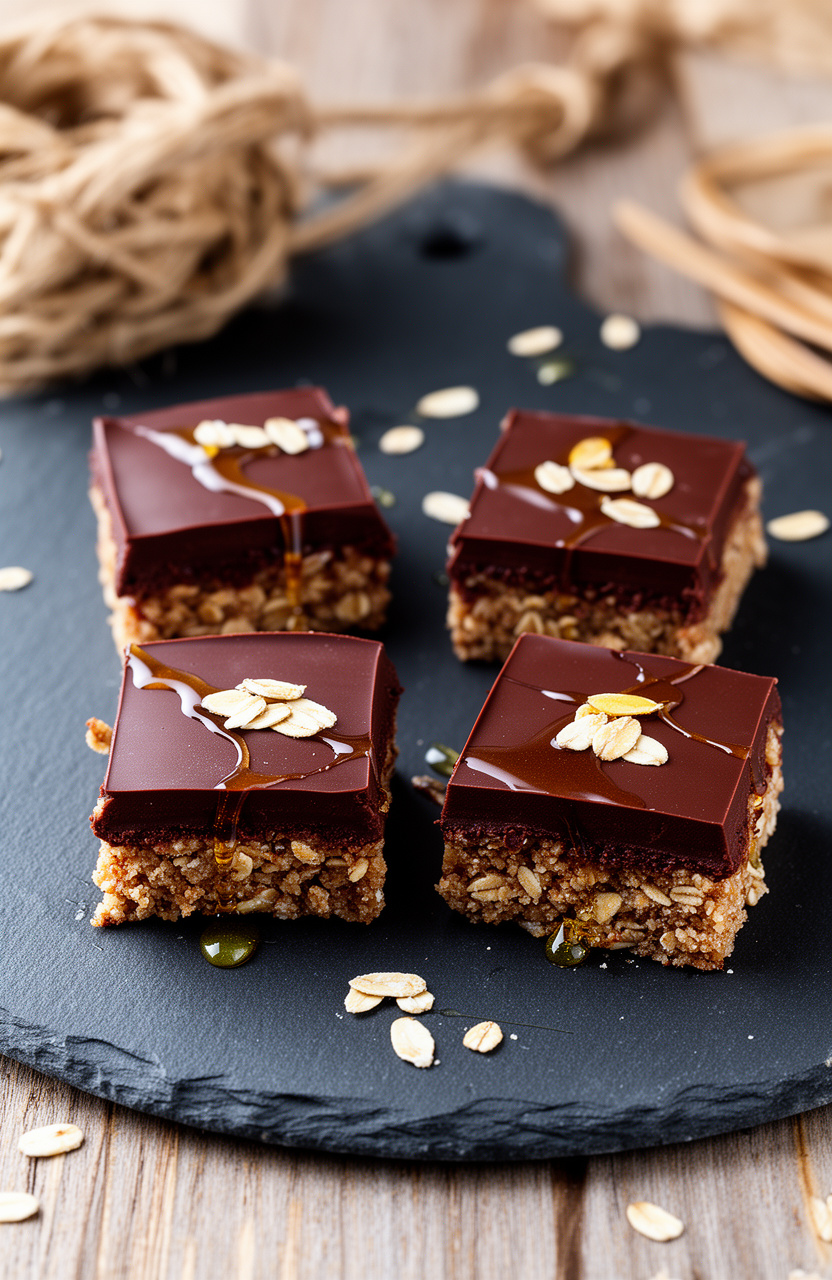
No-Bake Chocolate Oat Bars with Maple Syrup
Fudgy, chewy bars that set in the fridge while you do something else.
4.5(126 reviews)
VegetarianGluten-free
Prep15 min
Chill Time2 hr
Total2 hr 15 min
Serves16 bars
Ingredients
3 cups old-fashioned rolled oats , not instant
1/2 cup unsalted butter
1/2 cup maple syrup , pure, not pancake syrup
1/2 cup brown sugar , packed
1/4 tsp fine sea salt
1 tsp vanilla extract
1 cup semi-sweet chocolate chips
1/2 cup creamy peanut butter , stir-style, not natural that separates
2 tbsp maple syrup , second pour, for the chocolate layer
Instructions
1
Line an 8x8 inch baking pan with parchment paper, leaving overhang on two sides so you can lift the bars out cleanly. Set it aside.
2
Melt the butter in a medium saucepan over medium heat. After about 2 minutes the butter will be fully liquid and starting to smell faintly nutty. Add the brown sugar, 1/2 cup maple syrup, and sea salt. Stir constantly for 3 minutes. The mixture will bubble gently at the edges and smell like warm caramel.
3
Remove the pan from heat and stir in the vanilla. Add the rolled oats and fold until every oat is coated and the mixture looks glossy and uniform, about 1 minute of stirring.
4
Press two-thirds of the oat mixture into the bottom of the prepared pan. Use the back of a flat measuring cup to press it firmly, it should feel dense and compact under your hand, not springy. Set the remaining oat mixture aside.
5
Wipe the saucepan clean. Add the chocolate chips, peanut butter, and 2 tablespoons maple syrup. Melt over low heat, stirring constantly for about 3 minutes. When ready, it will look like pourable fudge and smell like a Reese's cup. Pull it off the heat the moment no chips remain.
6
Pour the chocolate mixture over the pressed oat base and spread it to the edges with a spatula. It should cover the surface evenly in a layer about 1/4 inch thick.
7
Crumble the reserved oat mixture over the chocolate layer and press it down lightly with your fingertips so it adheres without sinking into the chocolate.
8
Refrigerate uncovered for 120 minutes. The bars are ready when the chocolate layer is completely firm and matte, not tacky, when you press the surface lightly with one finger.
9
Lift the bars out by the parchment overhang. Cut into 16 squares with a sharp knife. If the chocolate cracks instead of cutting cleanly, let the pan sit at room temperature for 5 minutes and try again.
Tips & Notes
If your peanut butter is very thick, warm it for 20 seconds in the microwave before adding it to the chocolate layer. It will incorporate without seizing.
Brown sugar can be swapped 1:1 for coconut sugar if you want a slightly less sweet bar with a hint of molasses flavor.
Cut with a knife that has been run under hot water and wiped dry. It makes a cleaner edge through the chocolate layer.
These slice best cold. Store them in the fridge and cut only what you plan to serve.
Storage: Store in an airtight container in the refrigerator for up to 7 days. Layer between sheets of parchment if stacking. Do not store at room temperature for more than 2 hours, the chocolate layer softens and bars lose their shape.
Most no-bake bar recipes use corn syrup as the binder because it stays pliable at fridge temperature. Maple syrup does the same job here, but it adds a faint woodsy sweetness that cuts through the richness of the chocolate layer in a way corn syrup just does not.
The second pour of maple syrup in the chocolate layer is not decorative. It loosens the peanut butter and chocolate just enough to spread without making the layer greasy. Leave it out and you get a fudge that tears the oat base when you try to spread it.
Free Newsletter
Get our best ideas, free.
Join GoEnthusiast and get our newest guides, tips and finds delivered once a week. No spam, no fluff. Unsubscribe in one click.
One short email a week
Exclusive tips we don't publish
Free to join, free to leave
We respect your privacy. Unsubscribe anytime.
✓
You're on the list!
Check your inbox and click the confirmation link to finish.
Getting the Layers to Actually Stay Together
The layering trick is pressing the bottom oat layer while it is still warm and pliable, within 5 minutes of mixing. If you wait until it cools, it compacts less and the chocolate layer can slide off when you cut.
The crumbled top layer needs a light press to bond to the chocolate before it sets. Do this within 60 seconds of pouring the chocolate, while the surface is still soft enough to grip the oats.
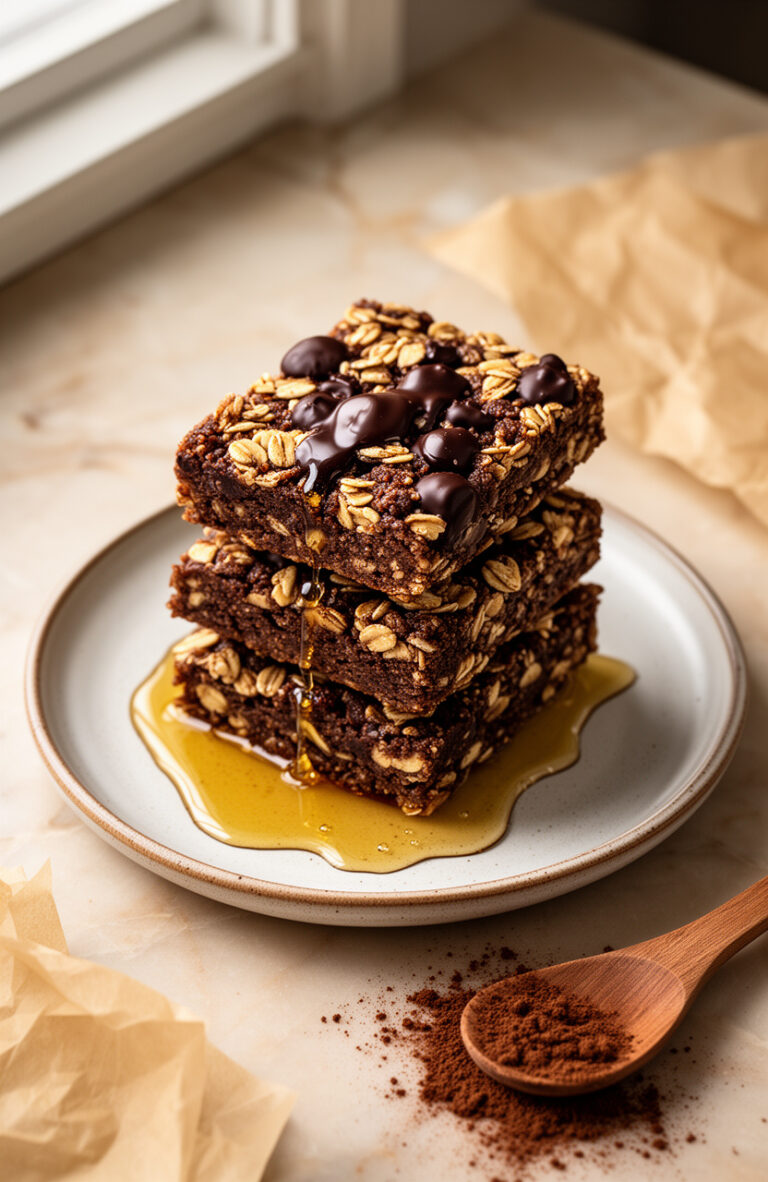
Jump to Recipe My kids demolished a box of store-bought granola bars in two days and I read the ingredient label afterward, which was a mistake. These have been on rotation for three months now because they actually stay together in a lunchbox and taste like something you’d choose on purpose. Why the pressing step…
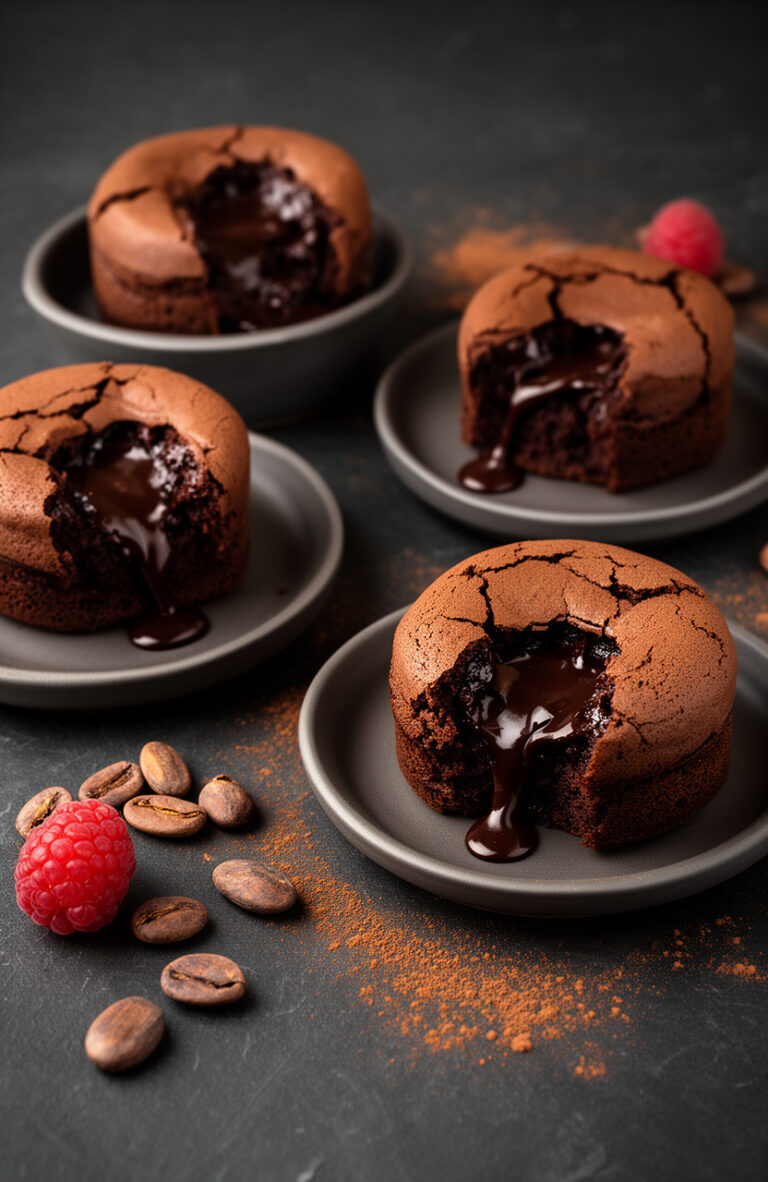
Jump to Recipe My daughter has a gluten sensitivity and still deserves a birthday dessert that makes people ask for the recipe. This one uses rice flour and a short freeze step that takes the guesswork out of the runny center, which is the part that ruins most lava cakes. Why the Frozen Center Actually…
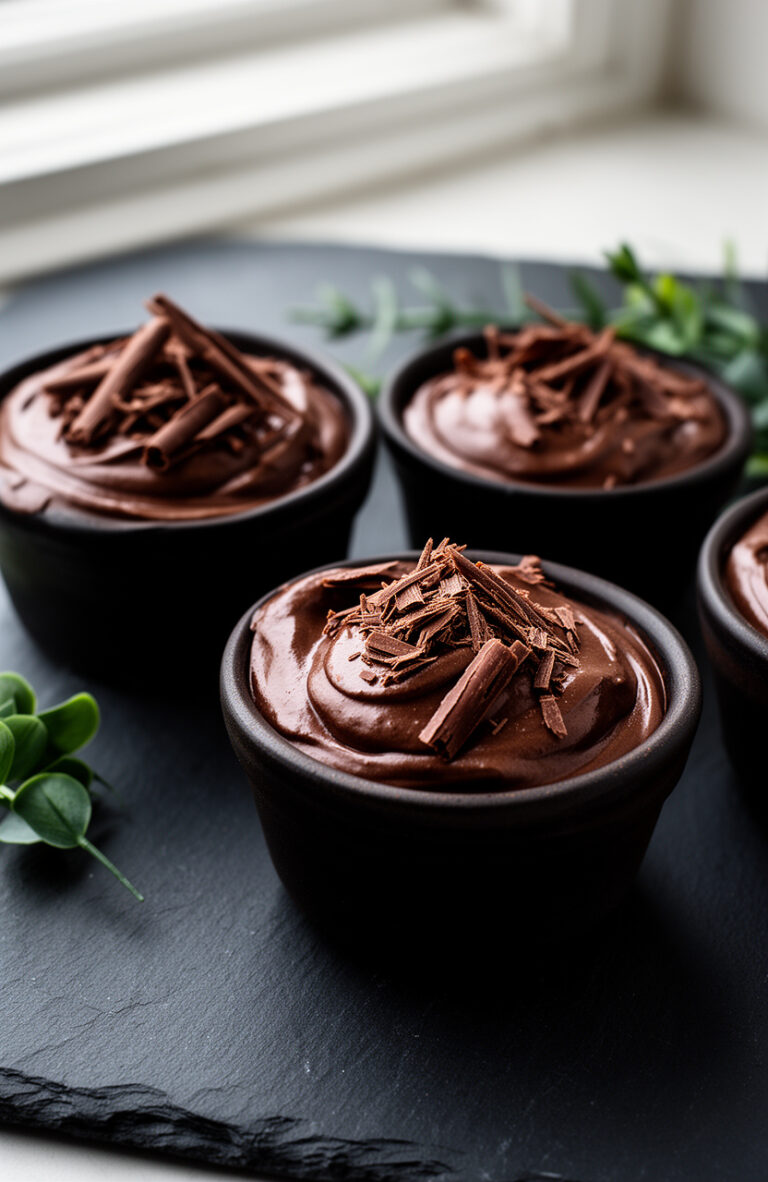
Jump to Recipe My youngest refuses anything that looks too healthy, and this one has fooled him twice. The avocados do all the structural work here. No cream, no eggs, no cooking required, just a blender and 10 minutes of actual effort. Why Avocado Actually Works Here Fat is what gives traditional chocolate mousse its…
Jump to Recipe My kids go through phases where they want brownies every single week, and I got tired of the sugar crash that followed. These hold together like real brownies, they freeze well, and the ingredient list is short enough that I almost always have everything on hand. Why These Work When Other Banana…
Jump to Recipe My youngest declared a full sugar ban after reading a cereal box, which is how I ended up in my kitchen at 9pm testing fudge recipes until one actually worked. This one sets properly, cuts clean, and tastes like something you’d pay too much for at a chocolate shop. Why Almond Butter…
Jump to Recipe My kids have a standing rule that I have to make these at least once a month, which is how I know the recipe actually works. The sweet potato does two things at once: it binds the batter and keeps the center dense without any butter or eggs, so these hold together…